Creating a simple chatbot with Zoe Agent is an intuitive and straightforward process. Follow these steps to get your first bot up and running:
Step 1: Choose Your Platform
Zoe Agent supports several major messaging platforms, including WhatsApp, Facebook Messenger, Instagram DM, and Telegram. For this guide, we will focus on WhatsApp.
Before you start, ensure you have:
- An active Zoe Agent account.
- A connected messaging account (e.g., WhatsApp Business API, Facebook, or Instagram).
Step 2: Build Your Bot Inside Zoe Agent
Once your account is connected, follow these steps to design your bot’s behavior:
Access the Dashboard: Log in to your Zoe Agent account and navigate to Chatbot Manager > WhatsApp Bot.
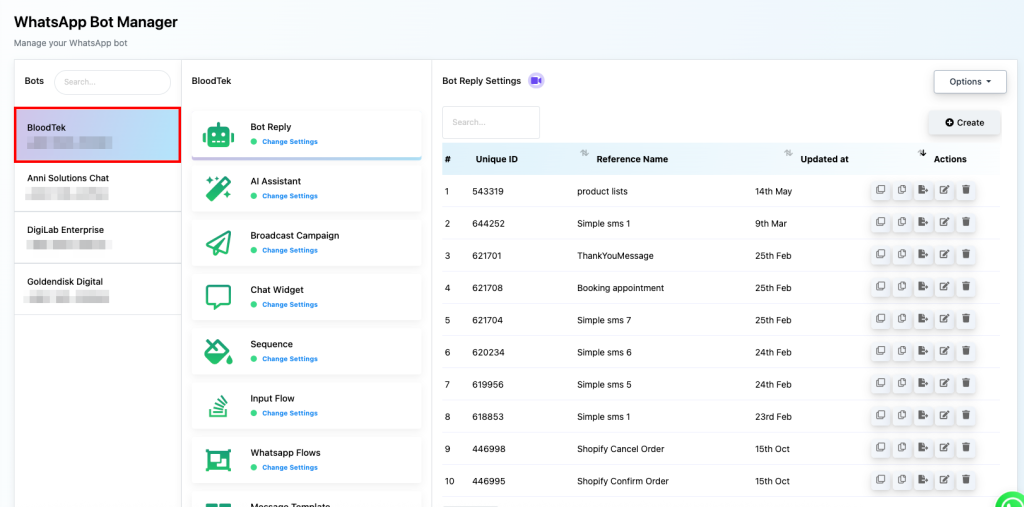
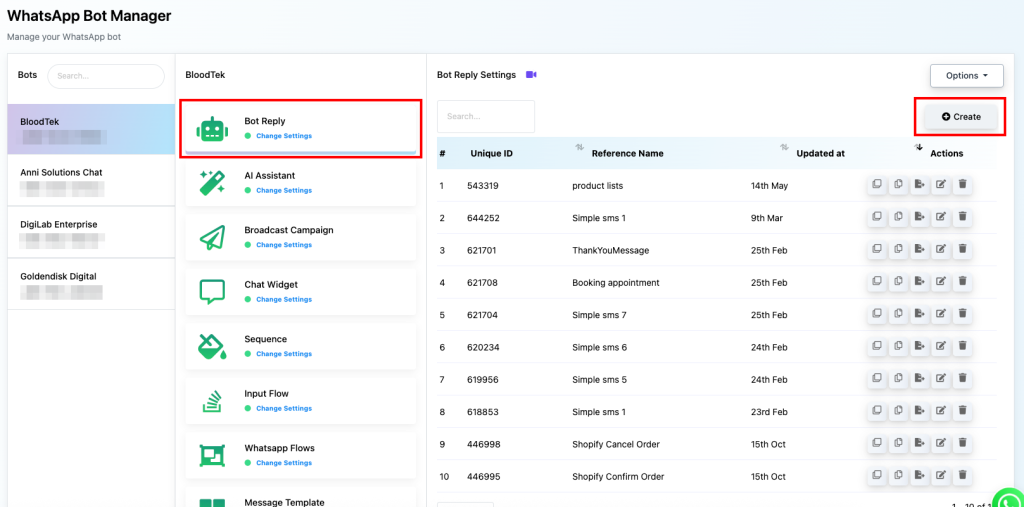
Open the Flow Builder: Select your connected bot, navigate to Bot Reply, and click the Create button.
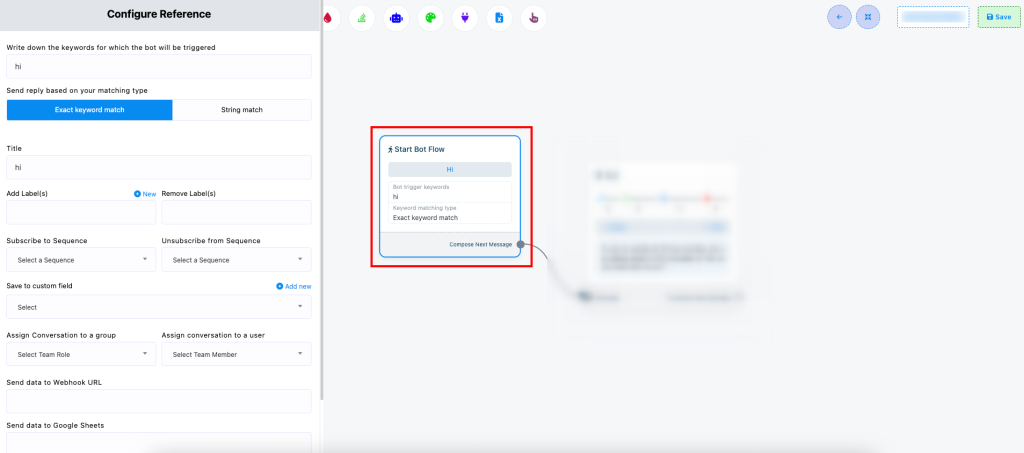
Configure Keywords: Click on the initial bot trigger. Define the specific keywords that will prompt the bot to start this specific conversation flow.
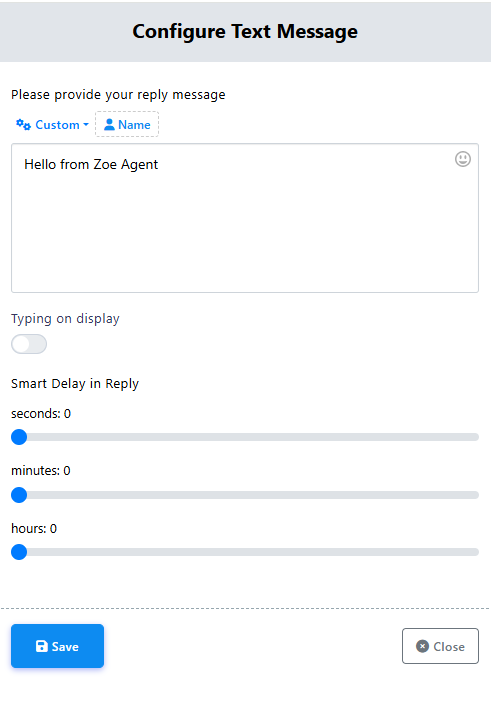
Add Components: Use the drag-and-drop interface to build your conversation. You can add:
- Text Messages: For straightforward communication.
- Media: Images, Audio, or Video to increase engagement.
- User Input Fields: To gather data like names or emails.
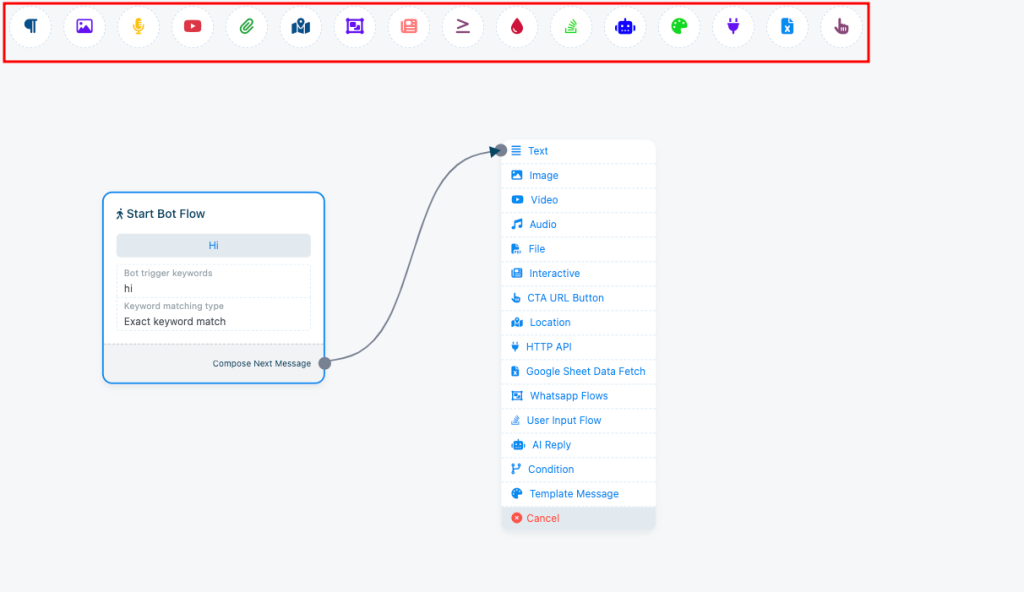
Here I am using a simple text message to show you how the flow looks like.
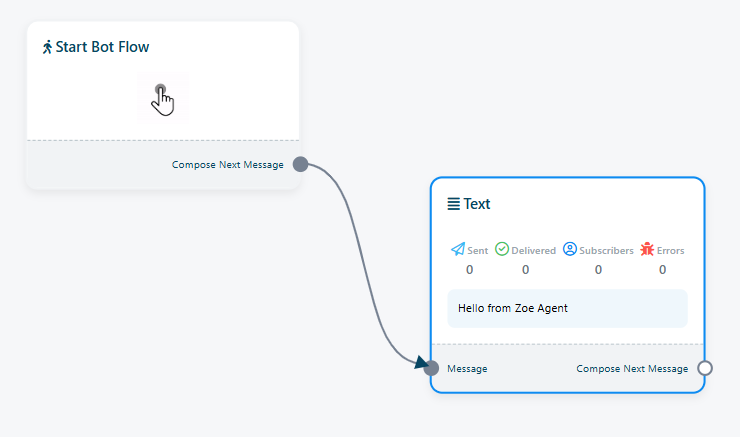
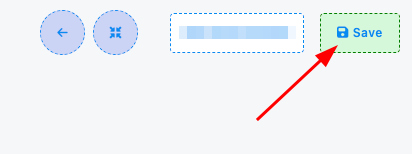
Finalize: Once you have mapped out your flow (even a simple text reply), click Save.
Step 3: Test Your Chatbot
Once your conversation flow is designed, test the chatbot if it works.
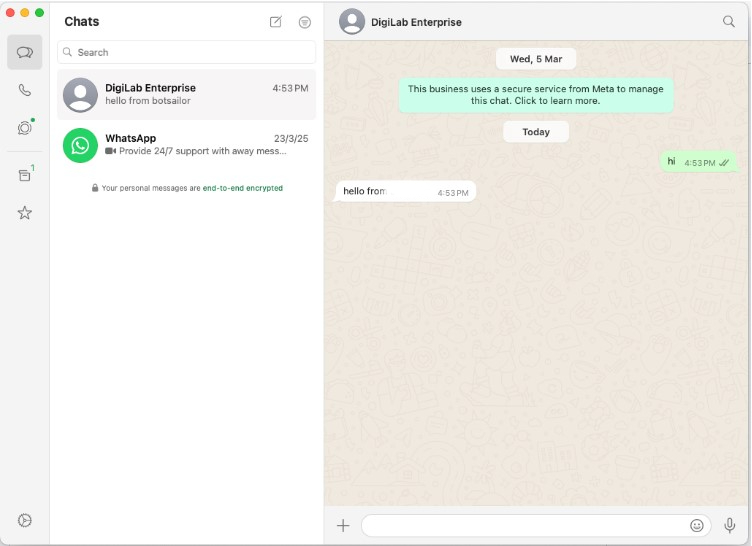
The bot is working. This is how you can create a simple chatbot with Zoe Agent.

